Brother LS2125i Sewing Machine Manual: A Comprehensive Guide
This manual provides essential guidance for operating and maintaining the Brother LS2125i sewing machine, covering basic safety, setup, and advanced features for optimal performance.
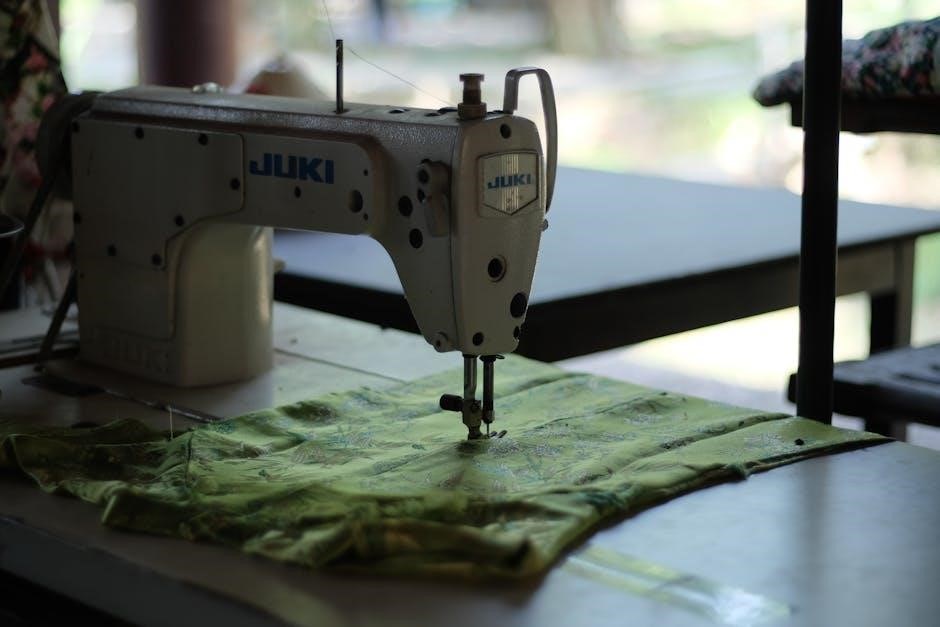
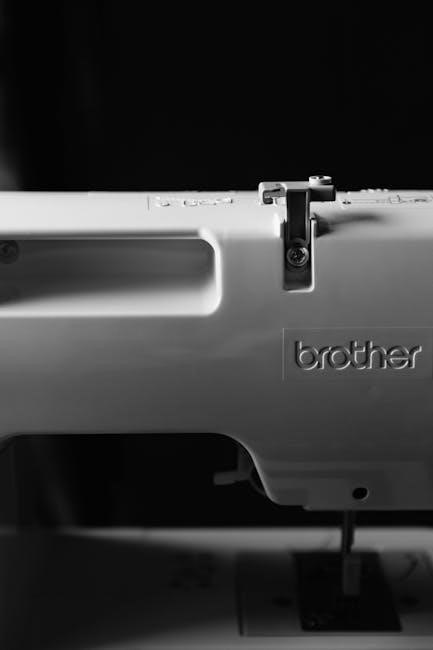
The Brother LS2125i is a reliable and user-friendly sewing machine designed for both beginners and experienced sewists. This machine excels in basic sewing and mending tasks, offering a practical solution for everyday garment construction and household projects. As highlighted in the operation manual (ls2125i_2150ug01en.pdf, accessed April 28, 2026), the LS2125i prioritizes ease of use alongside fundamental functionality.
This comprehensive guide aims to unlock the full potential of your LS2125i, walking you through each step from initial setup to mastering various sewing techniques. It emphasizes the importance of adhering to basic safety precautions, as detailed in the manual, ensuring a secure and enjoyable sewing experience. Furthermore, accessing support and FAQs at http://solutions.brother.com is encouraged for resolving any queries. Prepare to embark on a creative journey with this versatile machine!
Key Features and Specifications
The Brother LS2125i boasts a range of features designed for convenience and versatility. As outlined in the official operation manual (ls2125i_2150ug01en.pdf), this machine is categorized as a basic sewing and mending machine, ideal for straightforward projects. Key specifications include a selection of built-in stitches, offering options for various fabrics and applications.
While detailed specifications aren’t explicitly provided in the source, the manual emphasizes its suitability for both beginners and those with some sewing experience. The machine’s design prioritizes user-friendliness, with easily accessible controls for stitch selection, length, and width. It’s built with safety in mind, requiring adherence to the precautions detailed regarding electrical connections and fuse replacement (BS 1362 approved fuses are essential). Explore the utility stitches detailed in the appendix for expanded creative possibilities.
Setting Up Your Sewing Machine
Proper setup is crucial for optimal performance; begin by carefully unboxing, inspecting components, and ensuring correct power connection, as detailed in the manual.
Unboxing and Initial Inspection
Carefully unpack your Brother LS2125i sewing machine, ensuring all included accessories are present. These typically include the power cord, foot controller, various presser feet (standard, zigzag, buttonhole), a set of needles, bobbins, a screwdriver, a seam ripper, and the operation manual itself.
Inspect the machine for any visible damage that may have occurred during shipping. Check for dents, scratches, or loose parts. Verify the power cord and foot controller are in good condition, without any fraying or damage to the insulation.
Confirm the bobbin case and bobbin are included, as these are essential for starting to sew. Familiarize yourself with the location of each component as illustrated in the manual. Retain the packaging materials for potential future transport or warranty claims. A thorough initial inspection will help ensure a smooth sewing experience.
Powering On and Basic Operation
To power on your Brother LS2125i, connect the power cord to a suitable electrical outlet and ensure the power switch, typically located on the side of the machine, is in the “Off” position before plugging it in. Then, switch it to “On”. Connect the foot controller to the designated port on the machine.
Depress the foot pedal to initiate sewing; the sewing speed is directly proportional to the pressure applied. The machine operates with a simple on/off functionality controlled by the foot pedal.
Familiarize yourself with the basic stitch selection dial and the reverse stitch lever. Practice operating these controls without thread to understand their function. Always refer to the safety precautions outlined in the manual before beginning any sewing project. Remember to read all instructions before use!
Winding the Bobbin
To wind the bobbin on your Brother LS2125i, place the thread spool on the spool pin. Guide the thread through the thread guide, then onto the bobbin. Secure the bobbin onto the bobbin winder spindle.
Engage the bobbin winder by pushing the bobbin winder stem to the right. Press the foot pedal gently to start the winding process. The machine will automatically stop when the bobbin is full.
Once full, disengage the bobbin winder by returning the stem to its original position and remove the bobbin. Ensure the thread is cut neatly before inserting the bobbin into the bobbin case. Proper bobbin winding is crucial for consistent stitch quality. Always consult the manual for detailed diagrams and instructions.
Threading the Machine
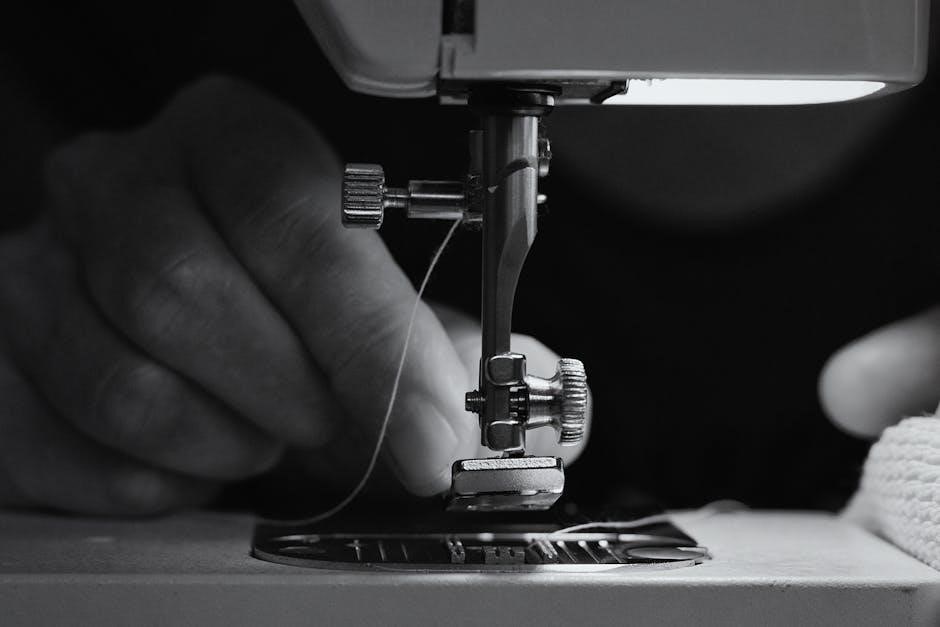
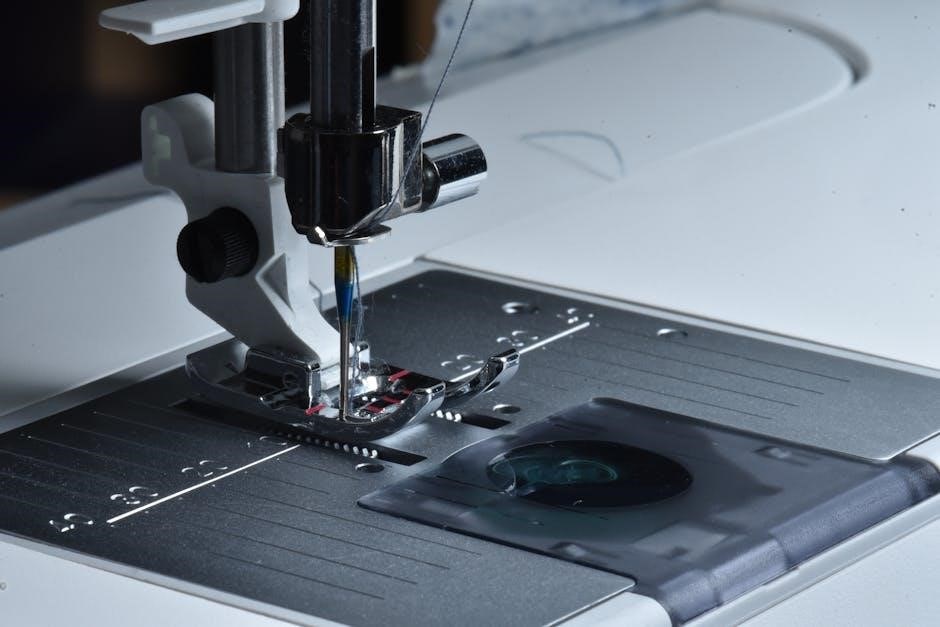
Correct threading is vital for the Brother LS2125i’s operation. Begin by raising the presser foot and ensuring the needle is in its highest position. Place the thread spool on the spool pin and guide it through the first thread guide.
Next, lead the thread down and around the tension discs, then through the take-up lever. Continue threading through the needle clamp and finally, thread the needle from front to back.
Always refer to the threading diagram printed on the machine for accurate guidance. Incorrect threading can cause skipped stitches or tension problems. Double-check each step to ensure the thread is properly seated in all guides and the needle. A properly threaded machine ensures smooth and reliable sewing.
Understanding the Machine Components
Familiarize yourself with key parts like the needle, presser foot, stitch dial, and tension control to effectively operate and maintain your Brother LS2125i;
Needle and Presser Foot Mechanisms
The needle’s precise movement is crucial for stitch formation, driven by the machine’s internal mechanisms. Understanding needle types – universal, ballpoint, etc. – ensures compatibility with various fabrics. Proper needle insertion, with the flat side facing the back, is essential for correct operation.
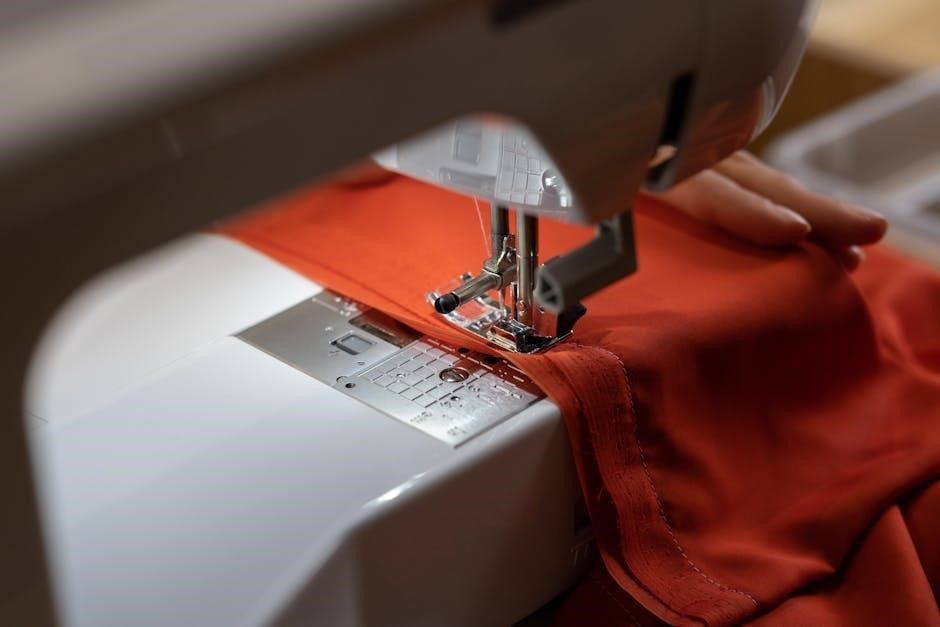
The presser foot applies pressure to the fabric, guiding it under the needle. Different presser feet are available for specialized tasks like zipper insertion, buttonholes, and blind hemming. Adjusting presser foot pressure is vital; too much can distort fabric, while too little can cause skipped stitches. Regularly check the presser foot for damage or wear, as this impacts stitch quality. Ensuring the correct foot is installed for the chosen stitch is paramount for achieving professional results with your Brother LS2125i.
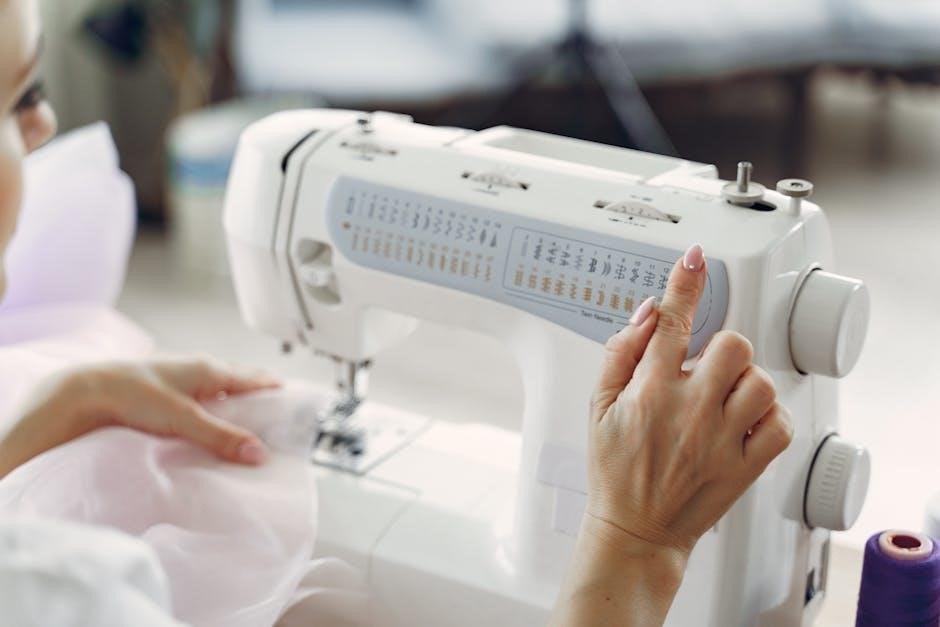
Stitch Selection Dial
The stitch selection dial on your Brother LS2125i is the central control for choosing your desired stitch pattern. It allows you to effortlessly switch between straight stitches, zigzag stitches, and a variety of utility stitches. Each number or symbol on the dial corresponds to a specific stitch, detailed in the included stitch guide appendix.
Carefully align the pointer with the desired stitch before beginning to sew. Experimenting with different stitch settings is encouraged to understand their unique applications. Remember that certain stitches require specific presser feet for optimal results. The manual provides a comprehensive overview of each stitch’s purpose, recommended fabric types, and ideal settings. Proper stitch selection is key to achieving professional-looking results and maximizing the versatility of your sewing machine.
Tension Control
Maintaining proper thread tension is crucial for creating balanced and durable seams on your Brother LS2125i. The tension control dial adjusts the force applied to the upper thread, influencing how tightly the stitch is formed. Incorrect tension can lead to looping, puckering, or thread breakage.
Generally, a standard tension setting (usually marked ‘4’ or a similar mid-point) works well for most fabrics and threads. However, adjustments may be necessary based on the fabric weight, thread type, and stitch selection. If loops appear on the underside of the fabric, increase the upper tension. Conversely, if the upper thread breaks or puckers form, decrease the tension. Always test your tension on a scrap fabric before starting your project.
Reverse Stitch Lever
The reverse stitch lever, conveniently located on your Brother LS2125i, allows you to sew backwards, primarily used for reinforcing the beginning and end of seams. This prevents unraveling and adds durability to your projects. To engage reverse, simply lift the lever; the machine will automatically switch to reverse stitching.
Release the lever to return to forward stitching. It’s important to note that the reverse stitch length is typically shorter than the forward stitch length. Use reverse sparingly – excessive reverse stitching can cause puckering. Practice on scrap fabric to become familiar with the lever’s operation and the resulting stitch appearance. Remember to always end your seam with a few reverse stitches for a professional finish!
Basic Sewing Techniques
Mastering fundamental techniques like straight and zigzag stitching is crucial for successful sewing with the LS2125i, enabling diverse project creation and repair.
Sewing Straight Stitches
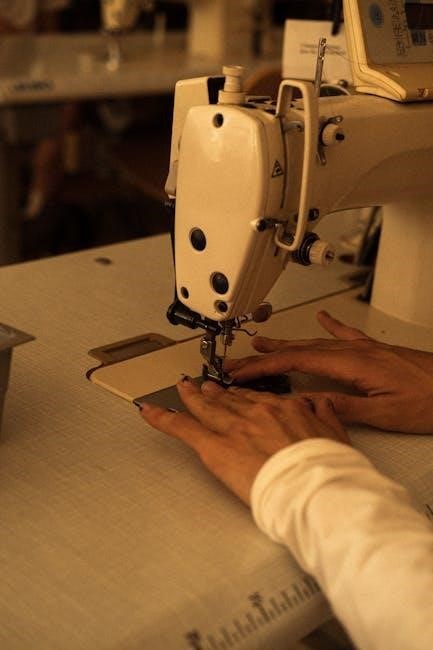
Achieving neat, consistent straight stitches is the foundation of most sewing projects with your Brother LS2125i. Begin by threading the machine correctly and inserting a suitable needle for your fabric type. Ensure the presser foot is lowered before starting to sew; this secures the fabric.
Gently guide the fabric under the needle, avoiding pushing or pulling. Maintain a consistent speed, allowing the machine to feed the fabric evenly. Use the guide markings on the needle plate as a visual aid to keep your stitching straight.
For longer seams, periodically lift the presser foot with the needle in the up position to adjust the fabric’s position. Backstitch at the beginning and end of each seam to secure the stitches and prevent unraveling. Practice on scrap fabric to develop a feel for the machine’s rhythm and achieve optimal results. Remember to always prioritize safety!
Zigzag Stitching Applications
The zigzag stitch on your Brother LS2125i offers versatility beyond simple seams. It’s ideal for finishing raw edges to prevent fraying, creating decorative embellishments, and sewing stretch fabrics. Adjust the stitch width and length using the corresponding dials to achieve the desired effect.
For edge finishing, select a narrow stitch width and a moderate length. Sew along the fabric edge, allowing the zigzag to encase the raw fibers. When working with knits, a wider zigzag provides the necessary stretch to prevent seam puckering.
Experiment with different stitch widths and lengths for decorative applications like appliqué or creating textured patterns. Remember to test on scrap fabric first to refine your settings. Always prioritize safety and consult the stitch guide for specific recommendations.
Adjusting Stitch Length and Width
Precisely controlling stitch length and width is crucial for achieving professional results with your Brother LS2125i. The stitch length dial determines the distance between each stitch, impacting seam strength and appearance. Shorter stitches are ideal for delicate fabrics and curves, while longer stitches suit heavier materials and basting.
The stitch width dial adjusts the side-to-side deviation of the needle, primarily affecting zigzag stitches. A narrower width creates a tighter zigzag for edge finishing, while a wider width produces a bolder decorative stitch.
Always test your settings on scrap fabric before sewing your project. Incorrect settings can lead to puckering, skipped stitches, or fabric damage. Refer to the stitch guide for recommended settings based on fabric type and desired outcome.

Maintenance and Troubleshooting
Regular cleaning, lubrication, and addressing common issues will ensure your Brother LS2125i operates smoothly and reliably for years of creative sewing enjoyment.
Cleaning the Sewing Machine
Maintaining a clean sewing machine is crucial for optimal performance and longevity. Before cleaning, always disconnect the power supply to prevent accidental operation. Regularly remove lint and dust from the bobbin area, needle plate, and feed dogs using the provided brush or a small vacuum attachment. Pay close attention to areas where thread accumulates.
For more thorough cleaning, a soft cloth lightly dampened with sewing machine oil can be used to wipe down exterior surfaces. Avoid using harsh chemicals or abrasive cleaners, as these can damage the machine’s finish. The needle plate cover can often be removed for easier access to the bobbin area. Ensure all parts are completely dry before reassembling and resuming sewing. Consistent cleaning prevents jams and ensures smooth fabric feeding.
Troubleshooting Common Issues
Encountering problems with your Brother LS2125i is common, but many are easily resolved. If the machine isn’t sewing, re-thread both the upper thread and the bobbin, ensuring correct threading paths. Check the needle is correctly inserted and isn’t bent or damaged. For skipped stitches, try a new needle suitable for your fabric type. Tension issues often cause looping; adjust the tension dial incrementally until the stitches are balanced.
If the bobbin thread jams, carefully remove the bobbin case and clean away any lint or tangled threads. Always refer to the manual for proper bobbin insertion. If the machine is making unusual noises, stop immediately and inspect for obstructions. Never force the machine. If problems persist, consult the Brother support website for FAQs and further assistance.
Lubrication Guide
Proper lubrication is crucial for maintaining the smooth operation of your Brother LS2125i. However, modern sewing machines, including the LS2125i, generally require minimal oiling. Excessive oil can attract dust and cause more problems than it solves. Only oil the designated lubrication points as indicated in the machine’s manual – typically the bobbin race and the needle bar area.
Use only sewing machine oil; never use general-purpose oils or lubricants. Apply oil sparingly, using a drop or two at each point. After oiling, operate the machine slowly for a few minutes to distribute the oil evenly. Avoid getting oil on the fabric feed dogs or the tension discs. Regular cleaning is often more important than frequent oiling for maintaining optimal performance. Consult the Brother website for detailed diagrams and instructions.
Safety Precautions
Prioritize safety when operating your Brother LS2125i sewing machine. Always read all instructions thoroughly before use to understand potential hazards. Keep fingers away from the needle while the machine is running, and never sew over pins or thick fabric layers. Disconnect the power supply when changing the needle, threading, or performing maintenance.
Ensure the machine is stable and on a flat surface during operation. Never pull fabric forcefully while sewing. If the machine malfunctions, immediately stop and disconnect the power. Do not attempt repairs yourself; contact a qualified technician. Be mindful of the electrical cord and avoid damage. Keep the machine out of reach of children. Follow all warnings and cautions outlined in the operation manual for safe and enjoyable sewing.
Advanced Features & Stitch Options
Explore the LS2125i’s utility stitches for diverse projects, enhancing your sewing capabilities beyond basic mending with specialized stitch selections and applications.
Utility Stitches Explained
The Brother LS2125i offers a selection of utility stitches designed for practical sewing tasks beyond simple seams. These stitches enhance garment construction, home décor projects, and quick repairs. Understanding each stitch’s purpose unlocks the machine’s full potential.
Straight Stitch: The fundamental stitch for most sewing, ideal for seams, topstitching, and basting. Adjust length for different fabric weights.
Zigzag Stitch: Versatile for finishing raw edges, creating decorative elements, and sewing stretch fabrics. Width adjustments offer varied effects.
Buttonhole Stitch: Automatically creates buttonholes of consistent size, simplifying garment closures. Follow the manual’s guidelines for optimal results.
Blind Hem Stitch: Creates an almost invisible hem, perfect for skirts, pants, and delicate fabrics. Requires practice for a flawless finish.
Appliqué Stitch: Ideal for attaching patches or decorative elements to fabric surfaces, providing a secure and attractive bond.
Appendix: Detailed Stitch Guide
This detailed stitch guide provides comprehensive information on each stitch available on the Brother LS2125i sewing machine. It includes stitch numbers, recommended uses, optimal settings for various fabrics, and visual examples to aid in selection. Mastering these stitches expands your sewing capabilities.
Stitch 01 (Straight Stitch): Length 1.0-4.0mm. For general sewing, seams, and topstitching. Use shorter lengths for delicate fabrics.
Stitch 02 (Zigzag Stitch): Width 0.0-5.0mm, Length 1.0-4.0mm. Ideal for finishing edges, stretch fabrics, and decorative applications.
Stitch 05 (Buttonhole Stitch): Automatic setting. Refer to the manual for button size adjustments and proper execution.
Stitch 14 (Blind Hem Stitch): Width 2.5mm, Length 2.5mm. Creates an invisible hem on skirts and pants. Practice on scrap fabric first.
Stitch 17 (Appliqué Stitch): Width 3.0mm, Length 2.0mm. Securely attaches appliques and decorative patches.